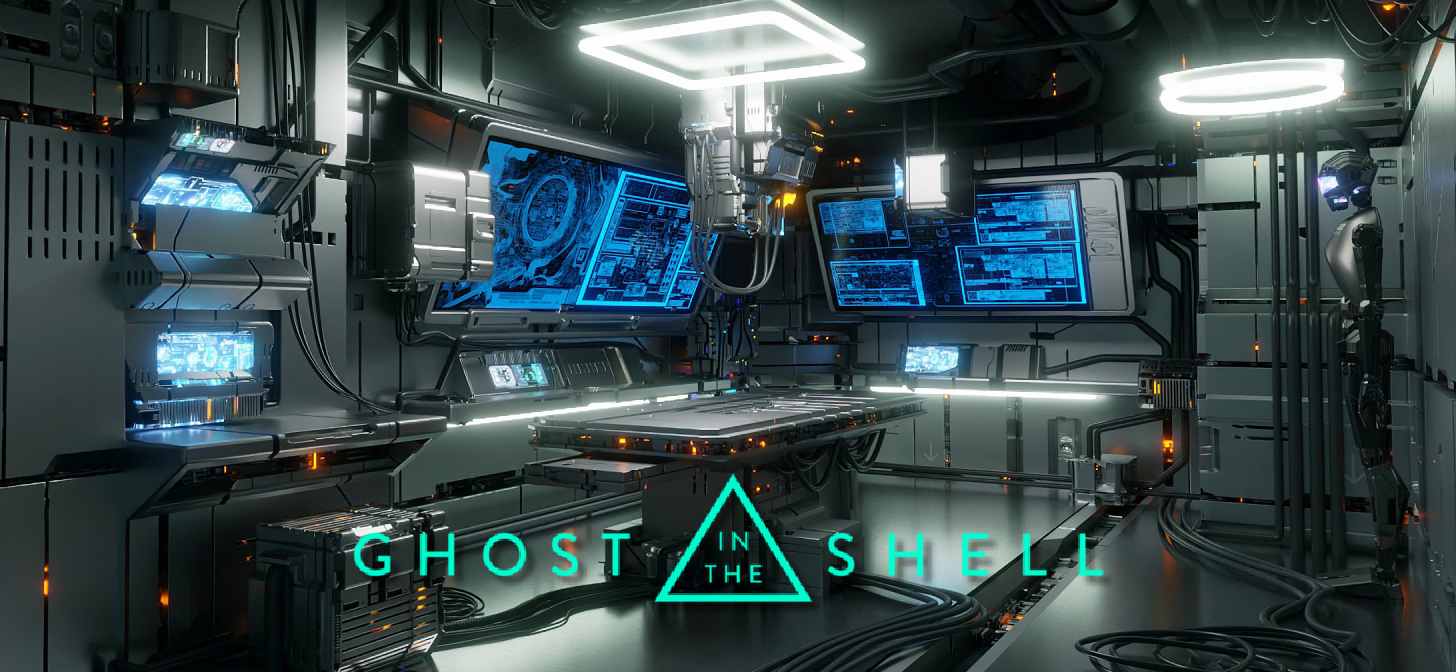
Free tutorial on using a new kitbash to trimsheet displacement technique to create insane amount of detail. Works in both EEVEE and Cycles and is very quick to create. This series goes through each step from matching a sketch to the camera, roughing out shapes, creating 2 different styles of trim sheets (color maps, normals, emission maps and height maps) and applying them to objects.
Did you forget to include a link to this tutorial? ![]()
Where do we find this tutorial?
Part 1: Create Ghost In The Shell 3D Concept Laboratory in Blender (youtube.com)
Oh c’mon guys… it’s not that difficult… ![]()