Modelling a tea cup with twisted fluting

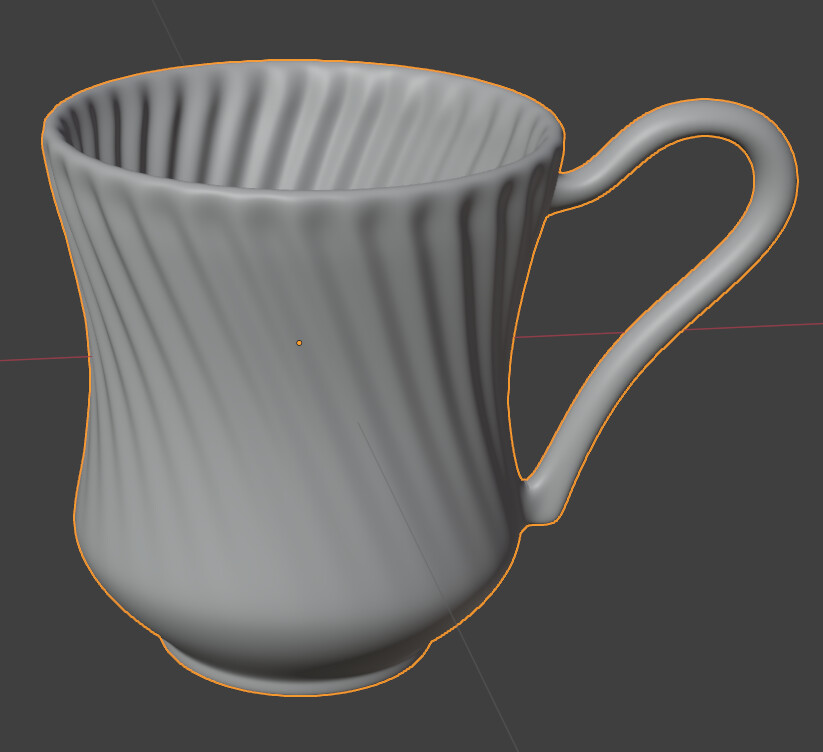
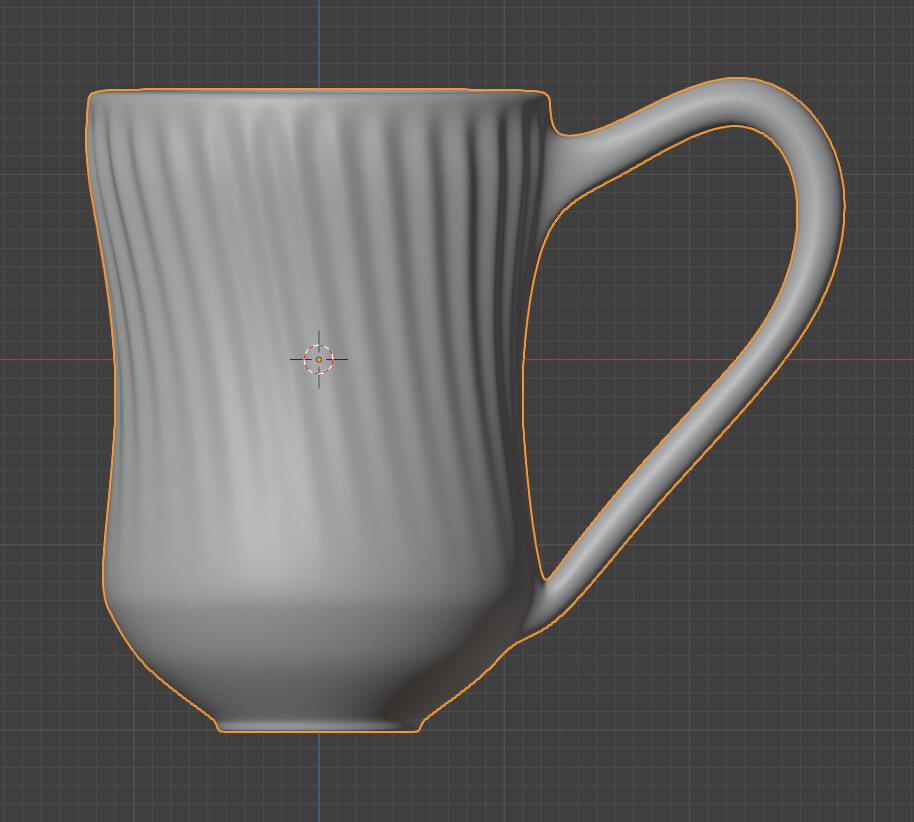
I’m following a tutorial by John Dickinson on modelling a tea cup.

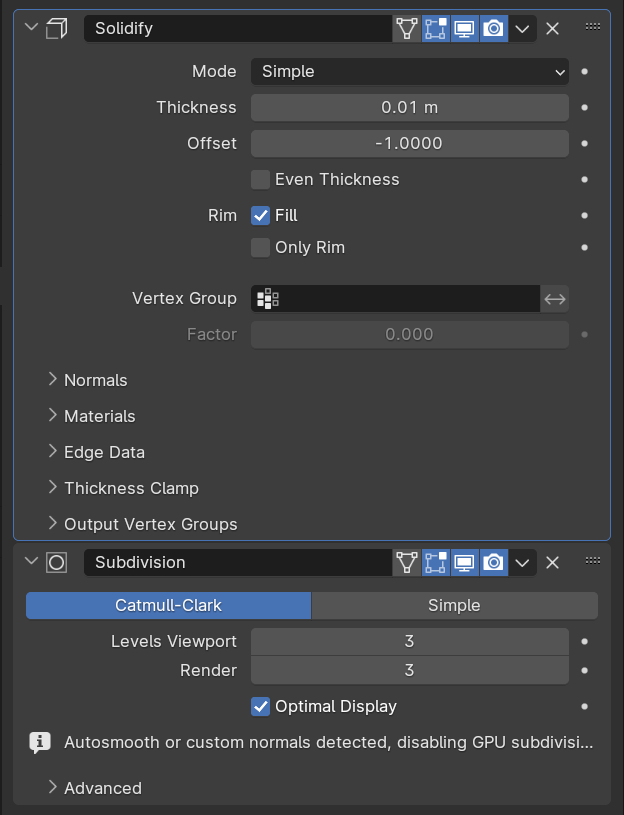
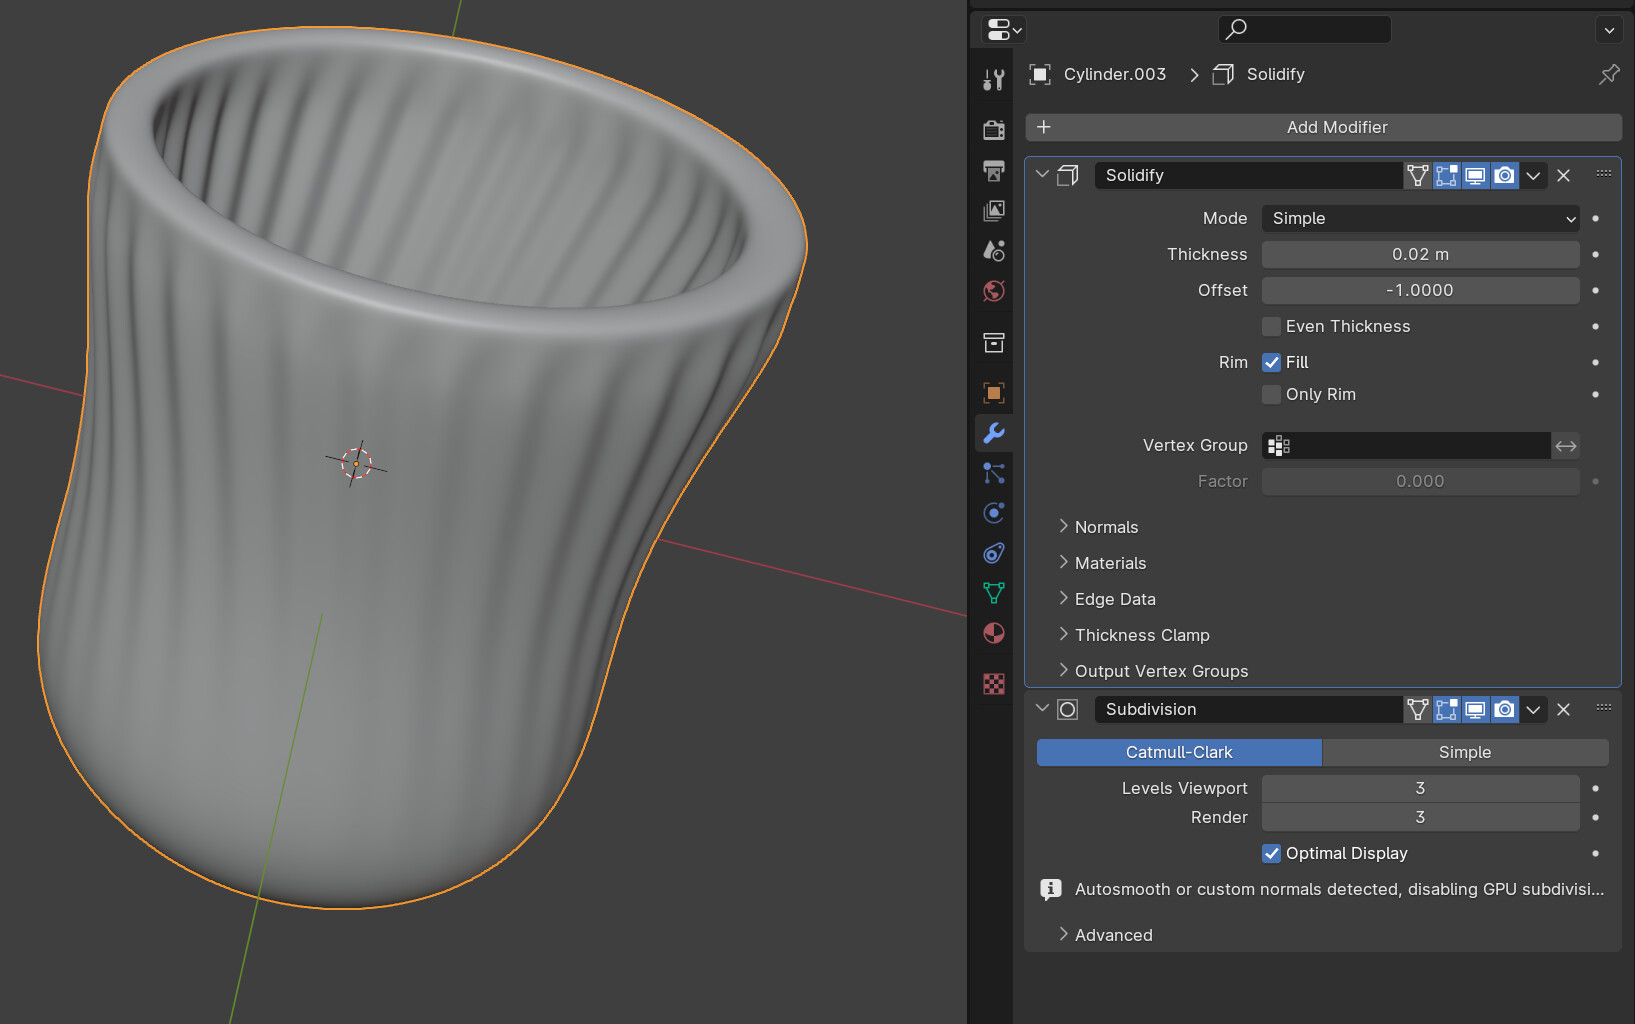
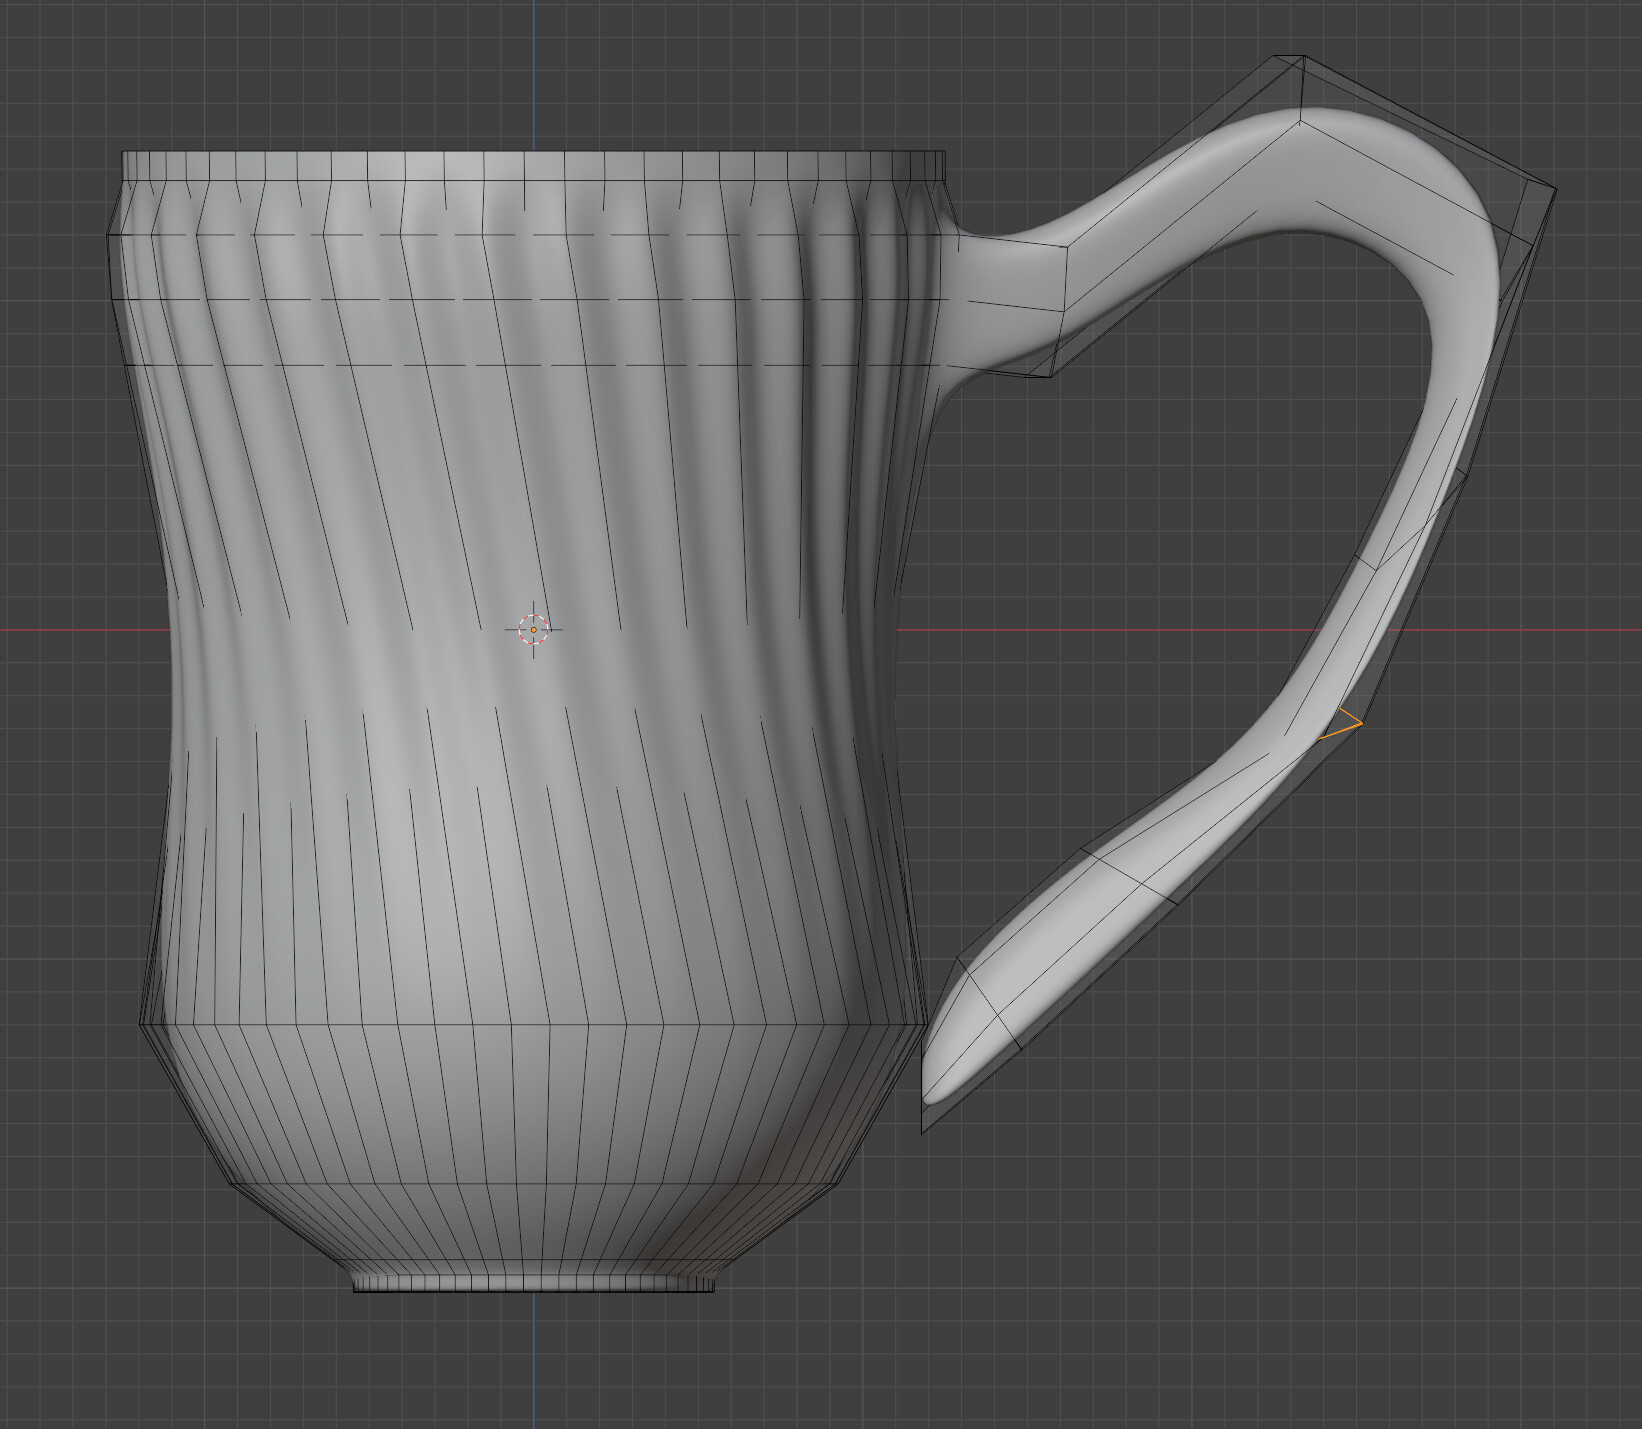
Although he seems to be quite experienced and achieves a good model in the end and the procedure is simple, his approach to modeling this object in the video seems to be inefficient and destructive, leaving me doubtful. He repeatedly applies SubD modifiers at different stages of modeling, and when it comes to the handle of the cup, it has less geometry than the cup itself, for which he has to add another SubD modifier that makes vert count to get over 9K.
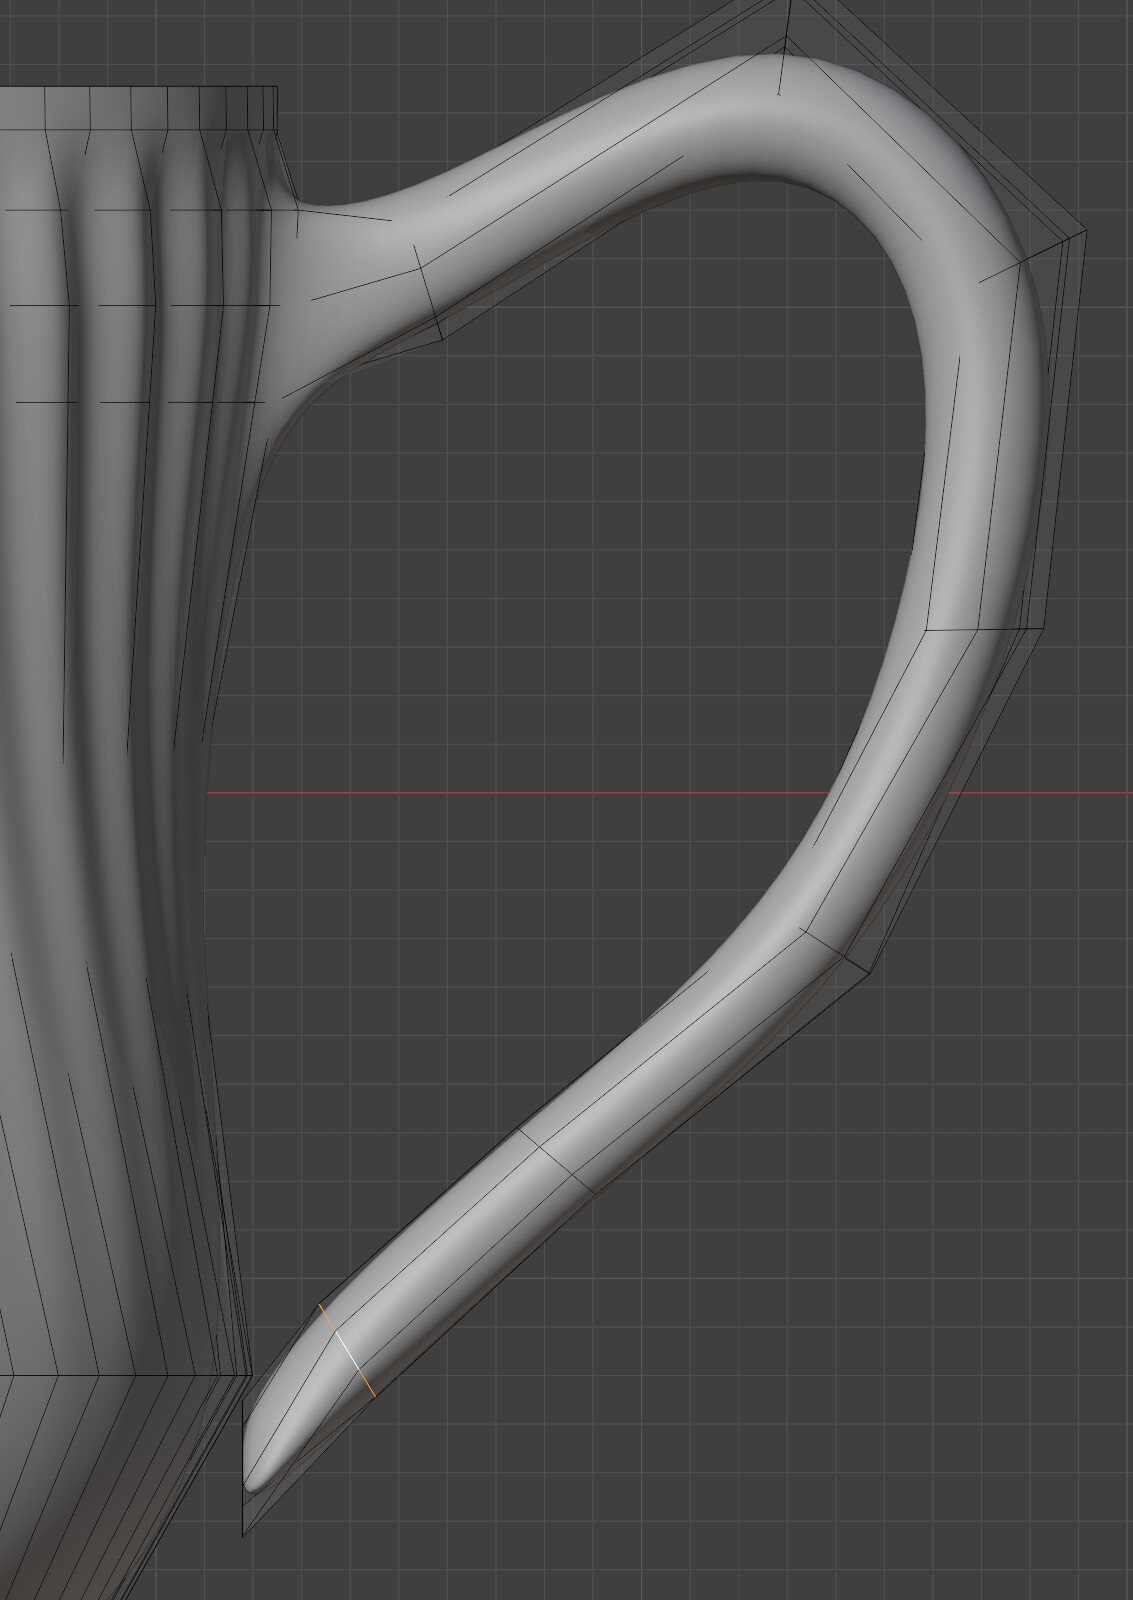
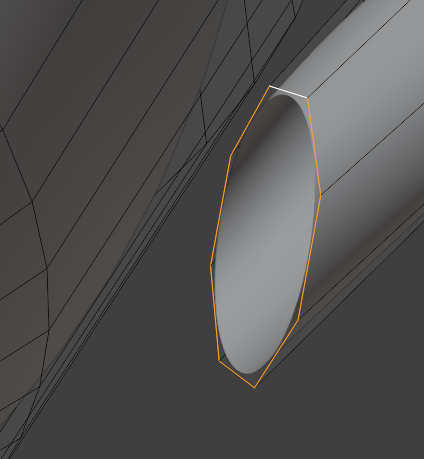
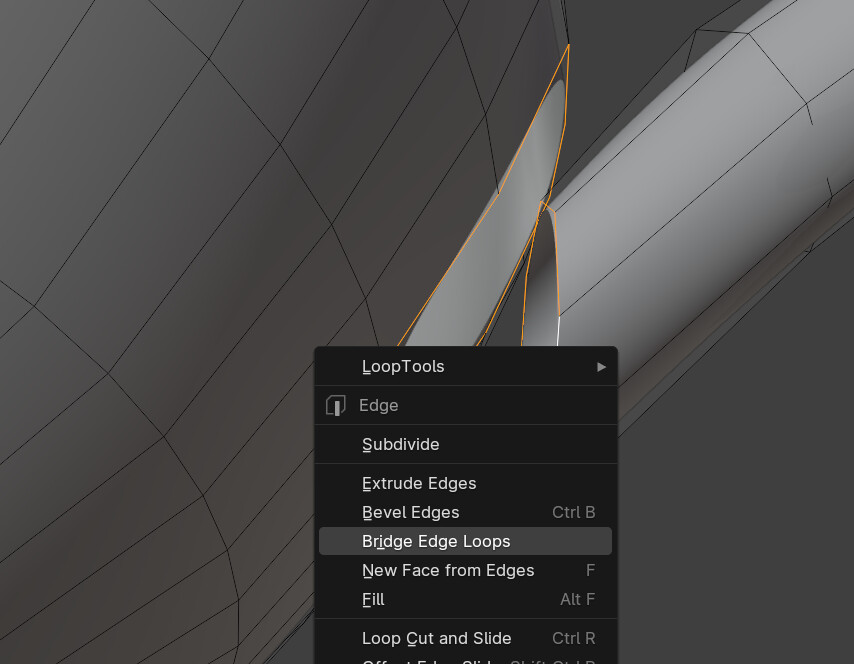
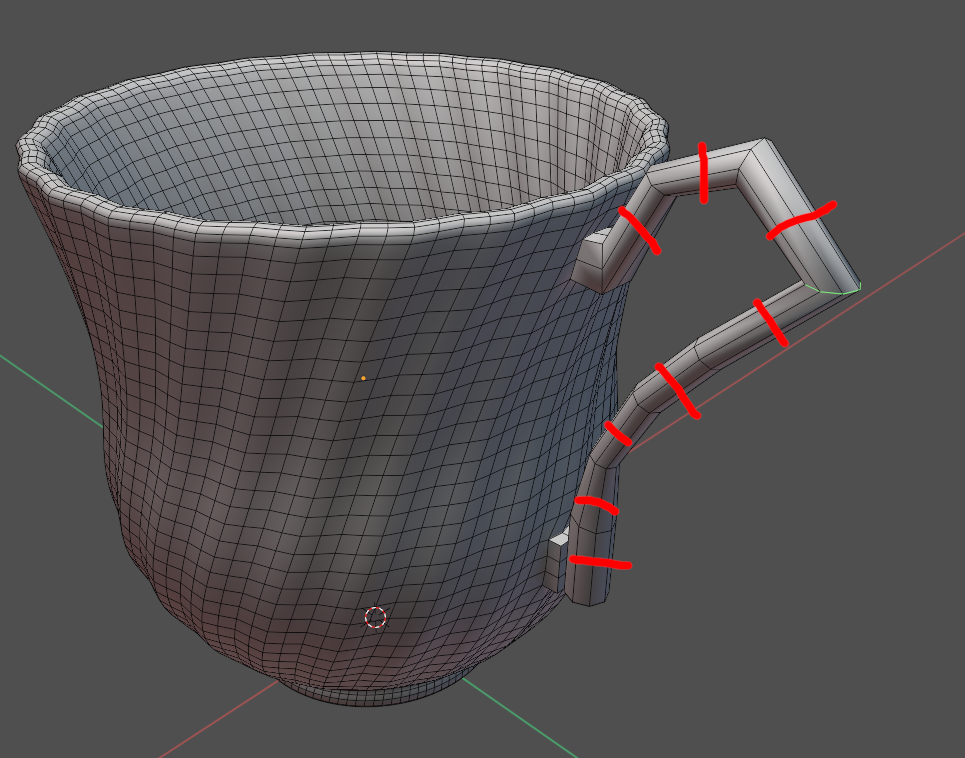
He also has to extrude the handle using CTRL+RMB a few times and subsequently spend a lot of time adjusting all the loops to get to the shape he wants. I’m wondering if creating the handle along a curve would have been a better strategy.

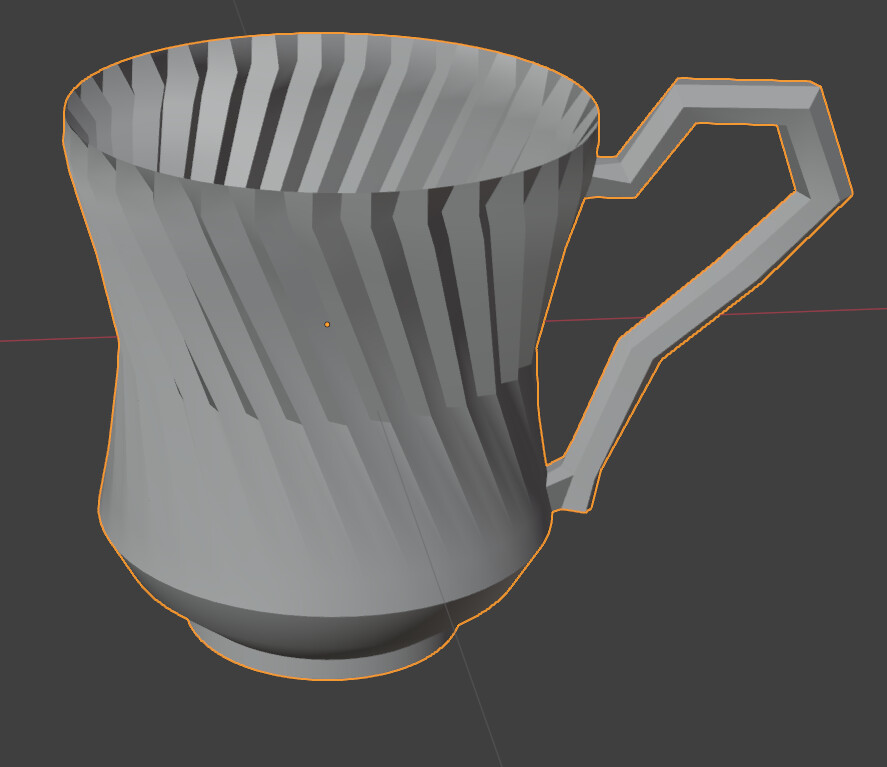
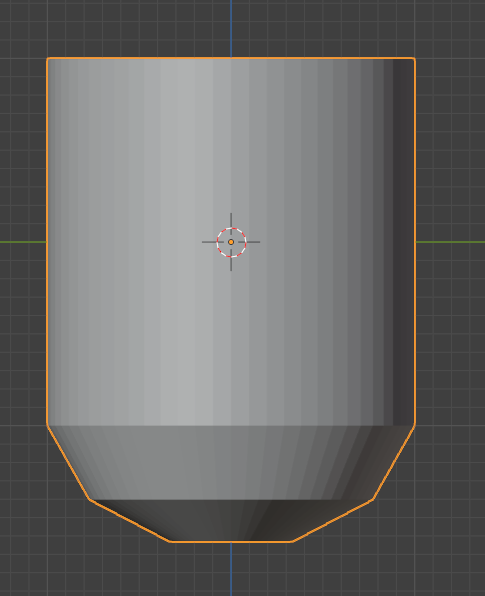
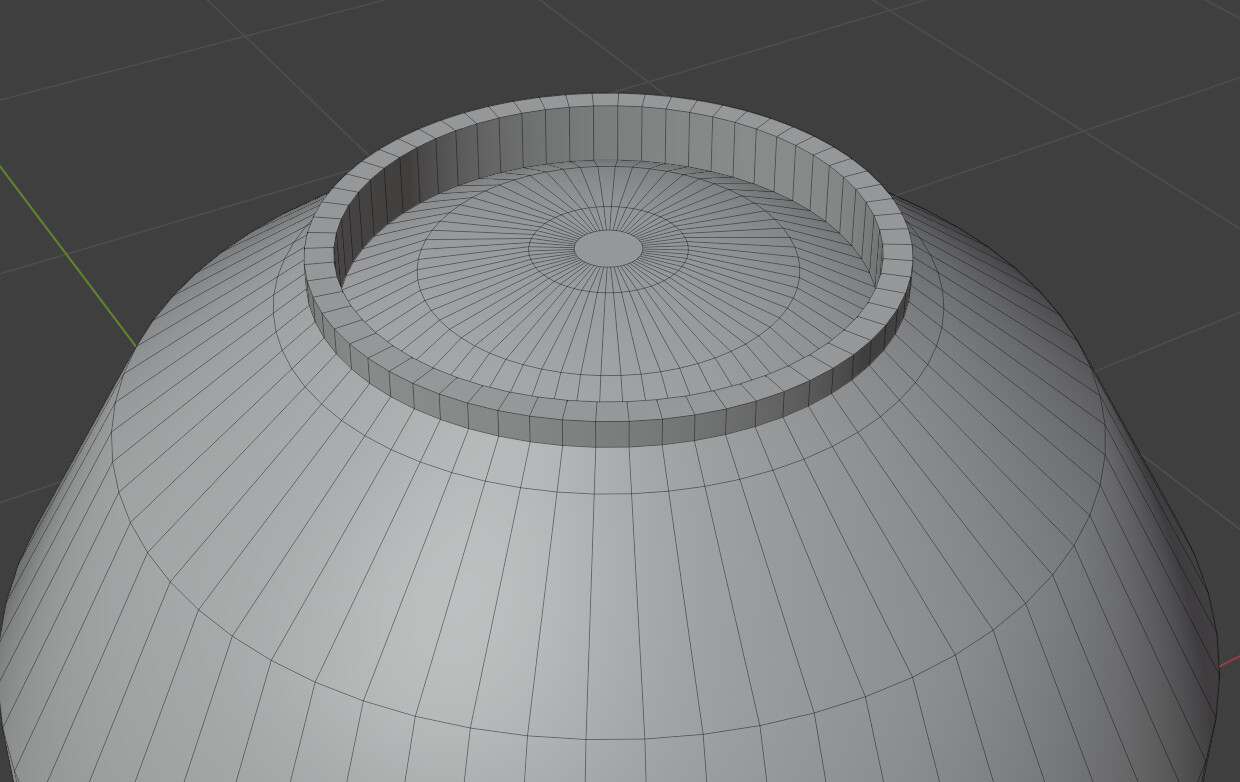
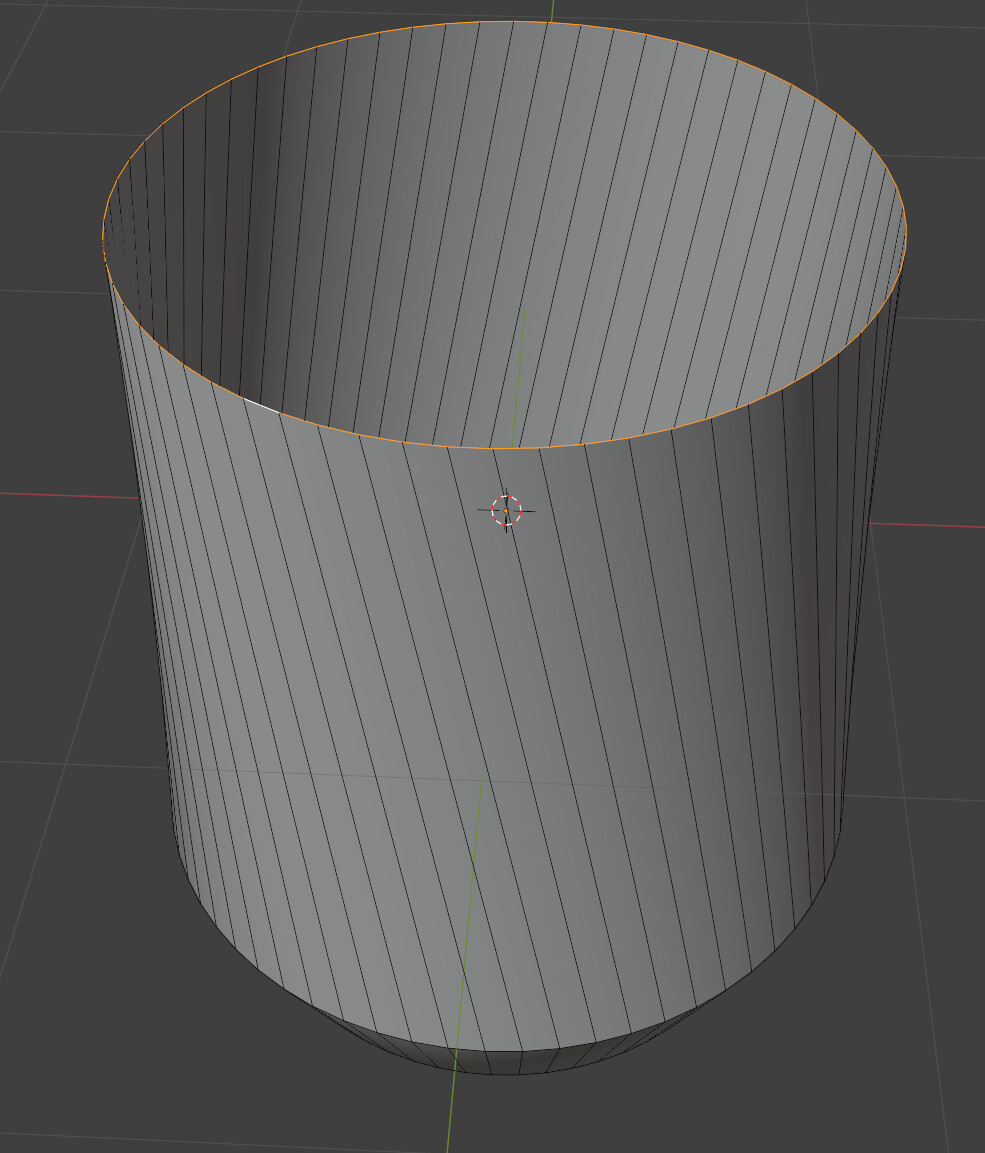
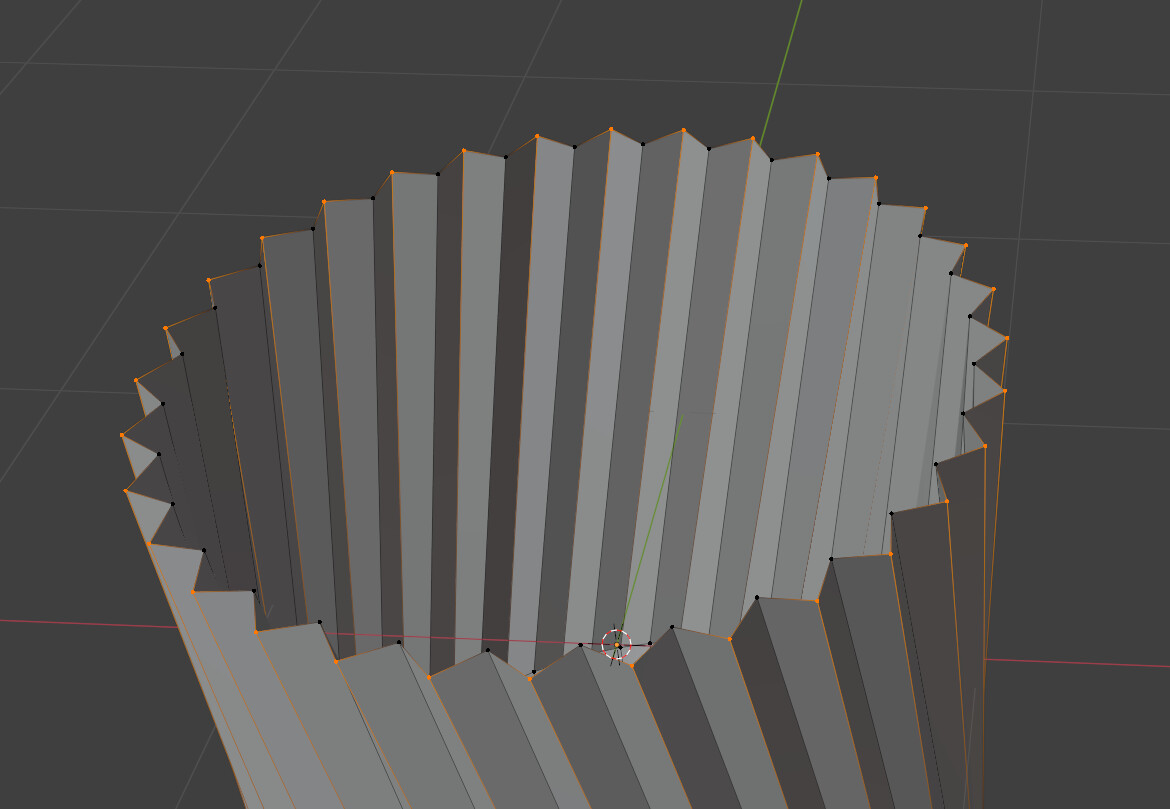
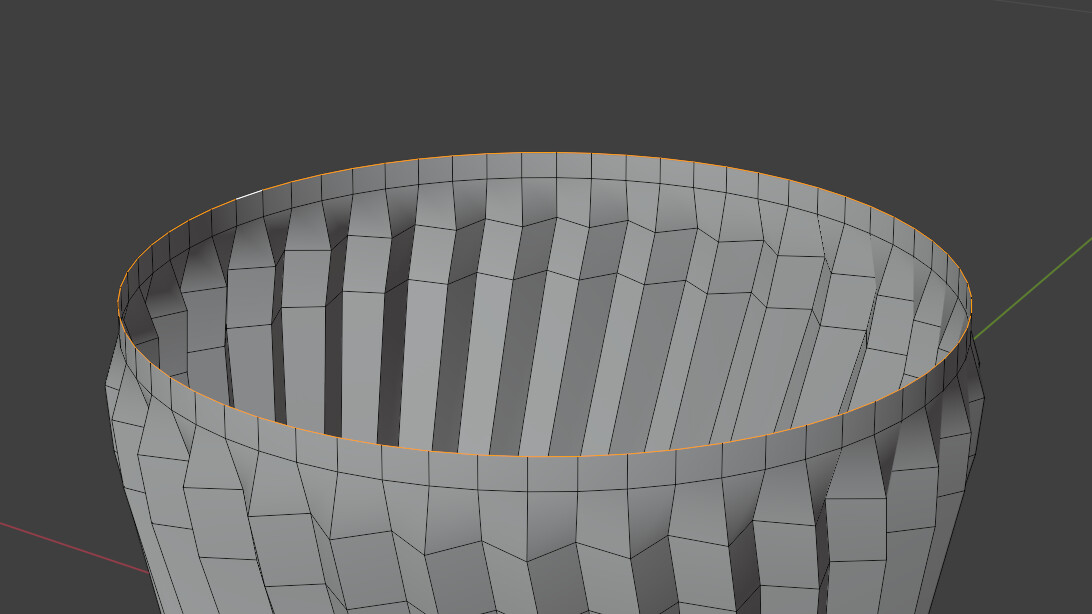
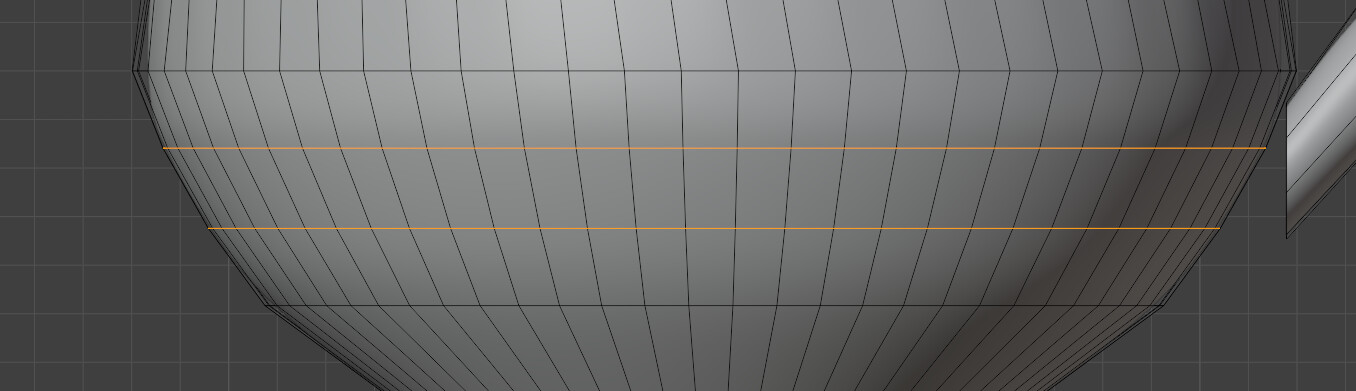
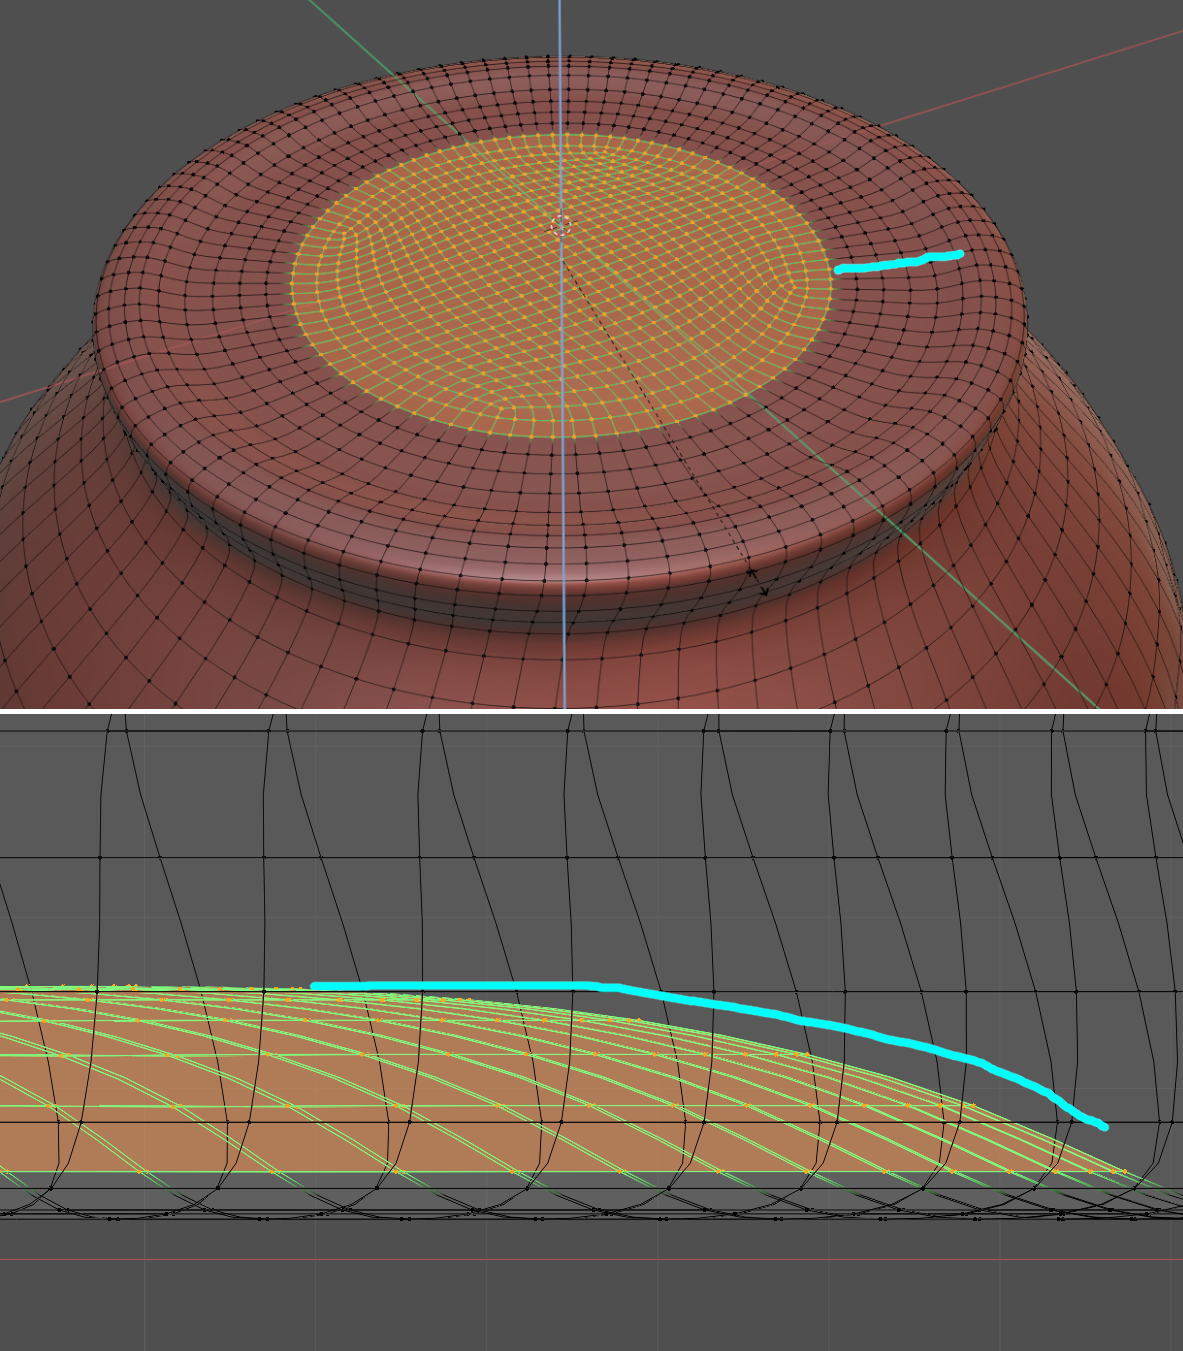
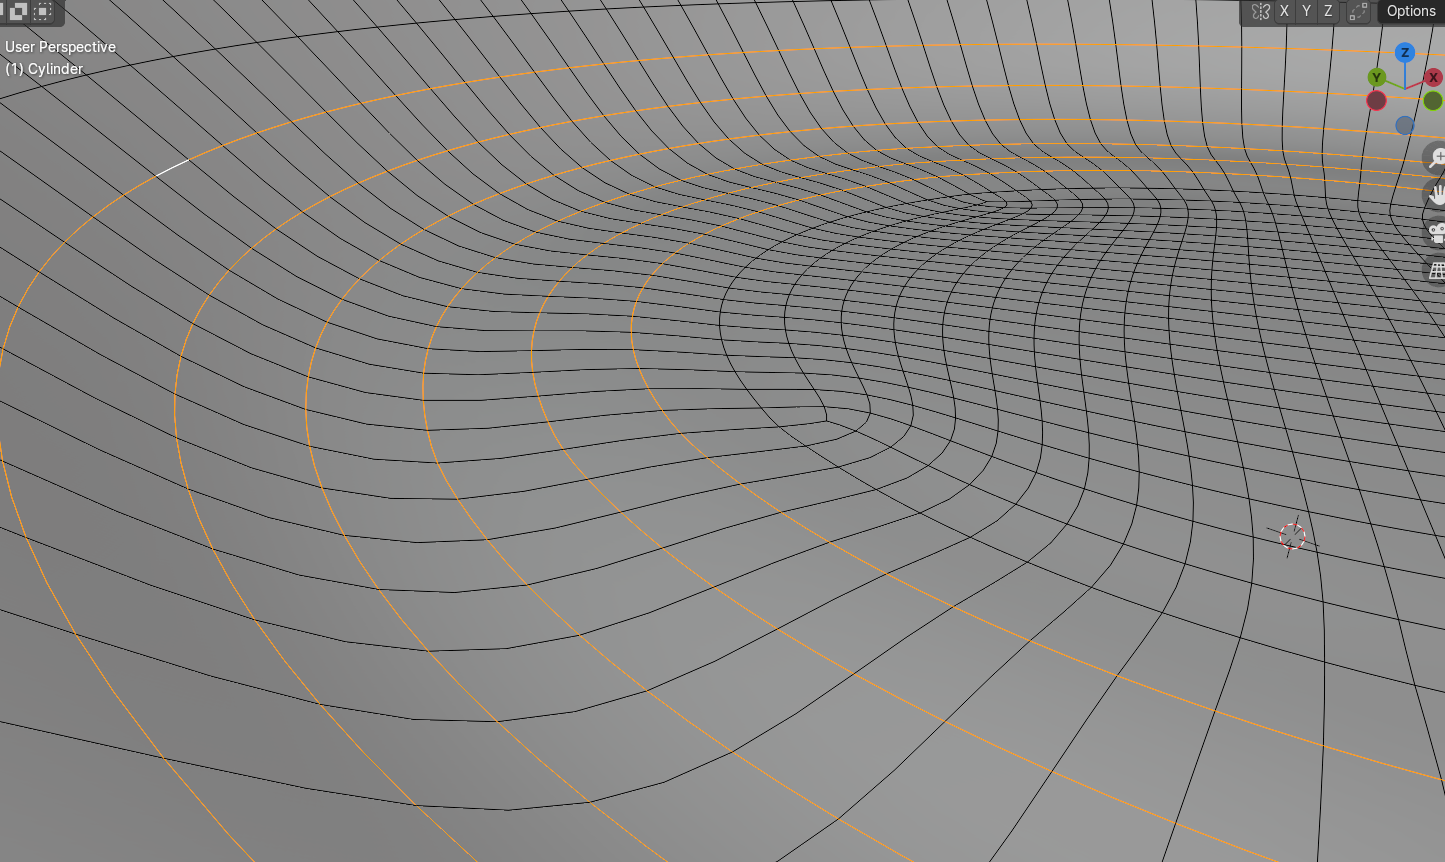
As I attempt to model the handle myself, Blender becomes sluggish due to the SubD modifier on already subdivided mesh. Additionally, the bottom of the cup shows these artifacts caused by the curve:


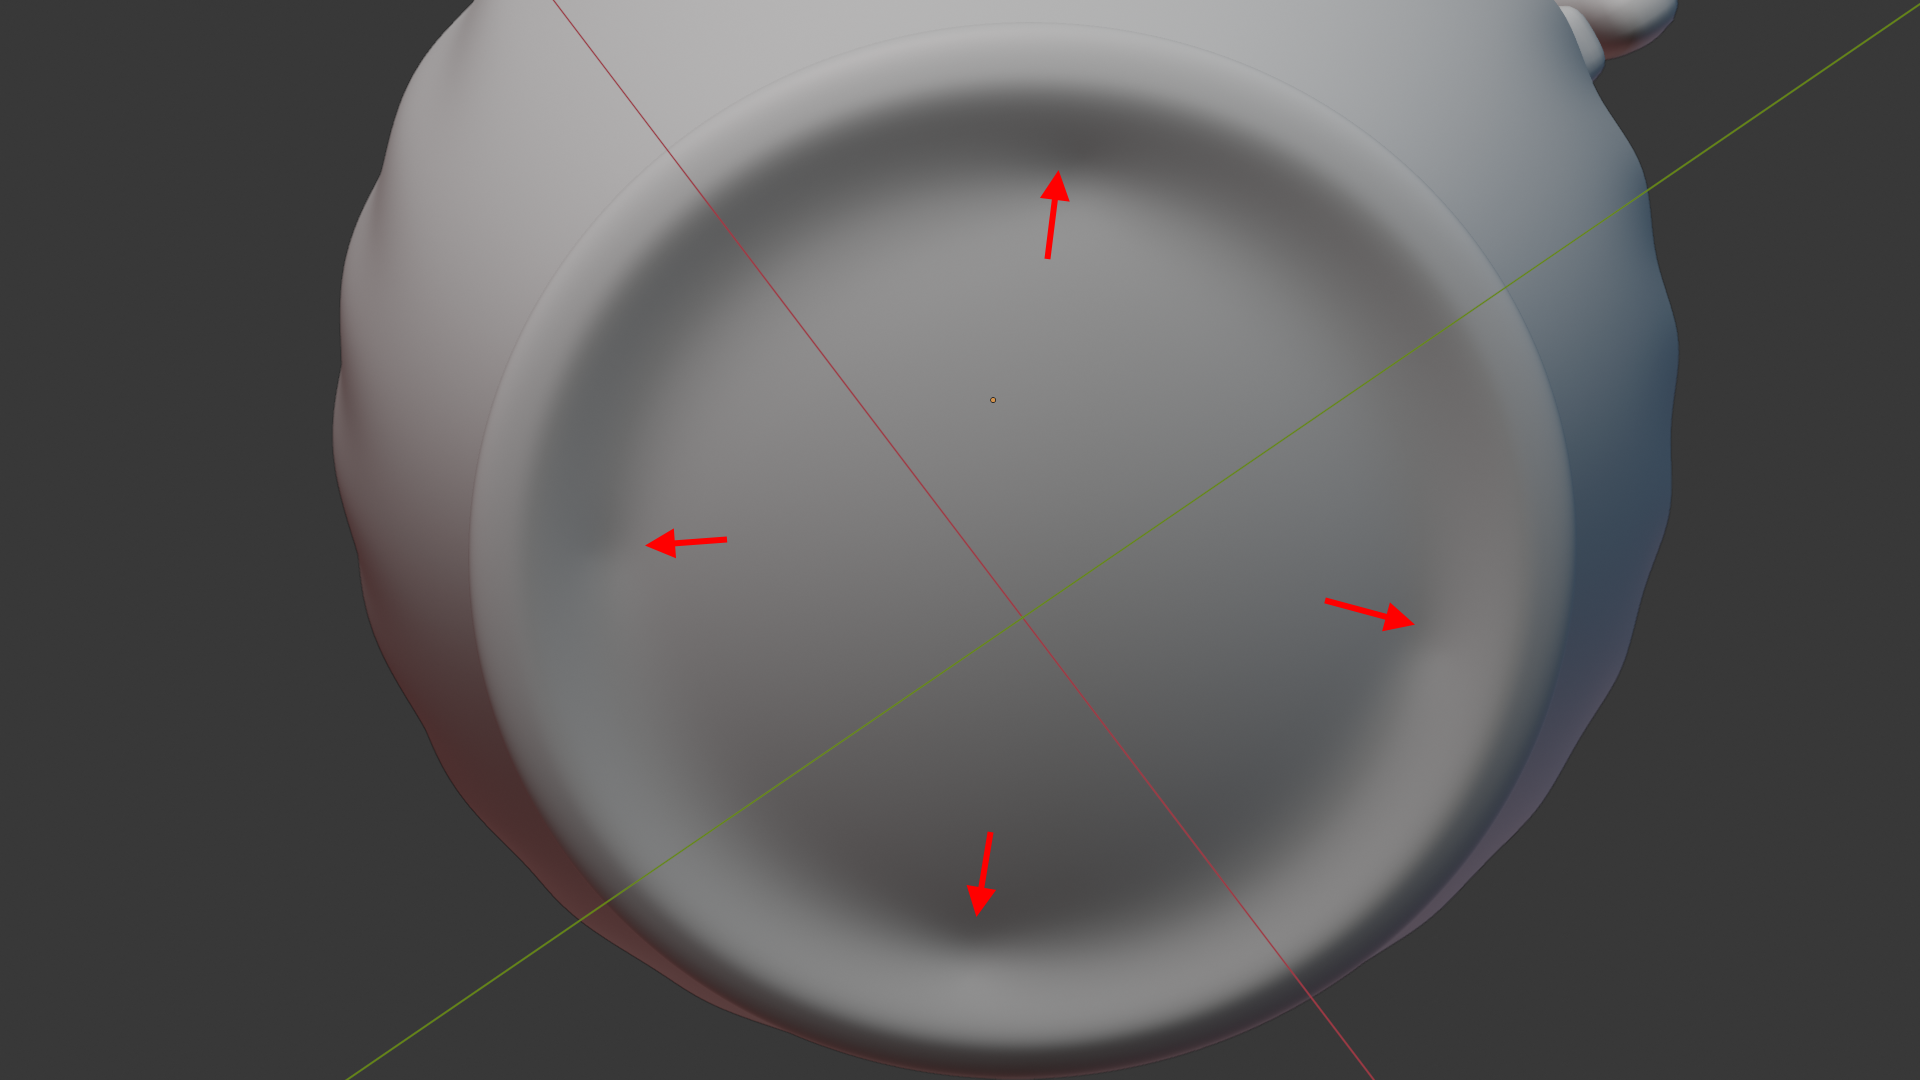
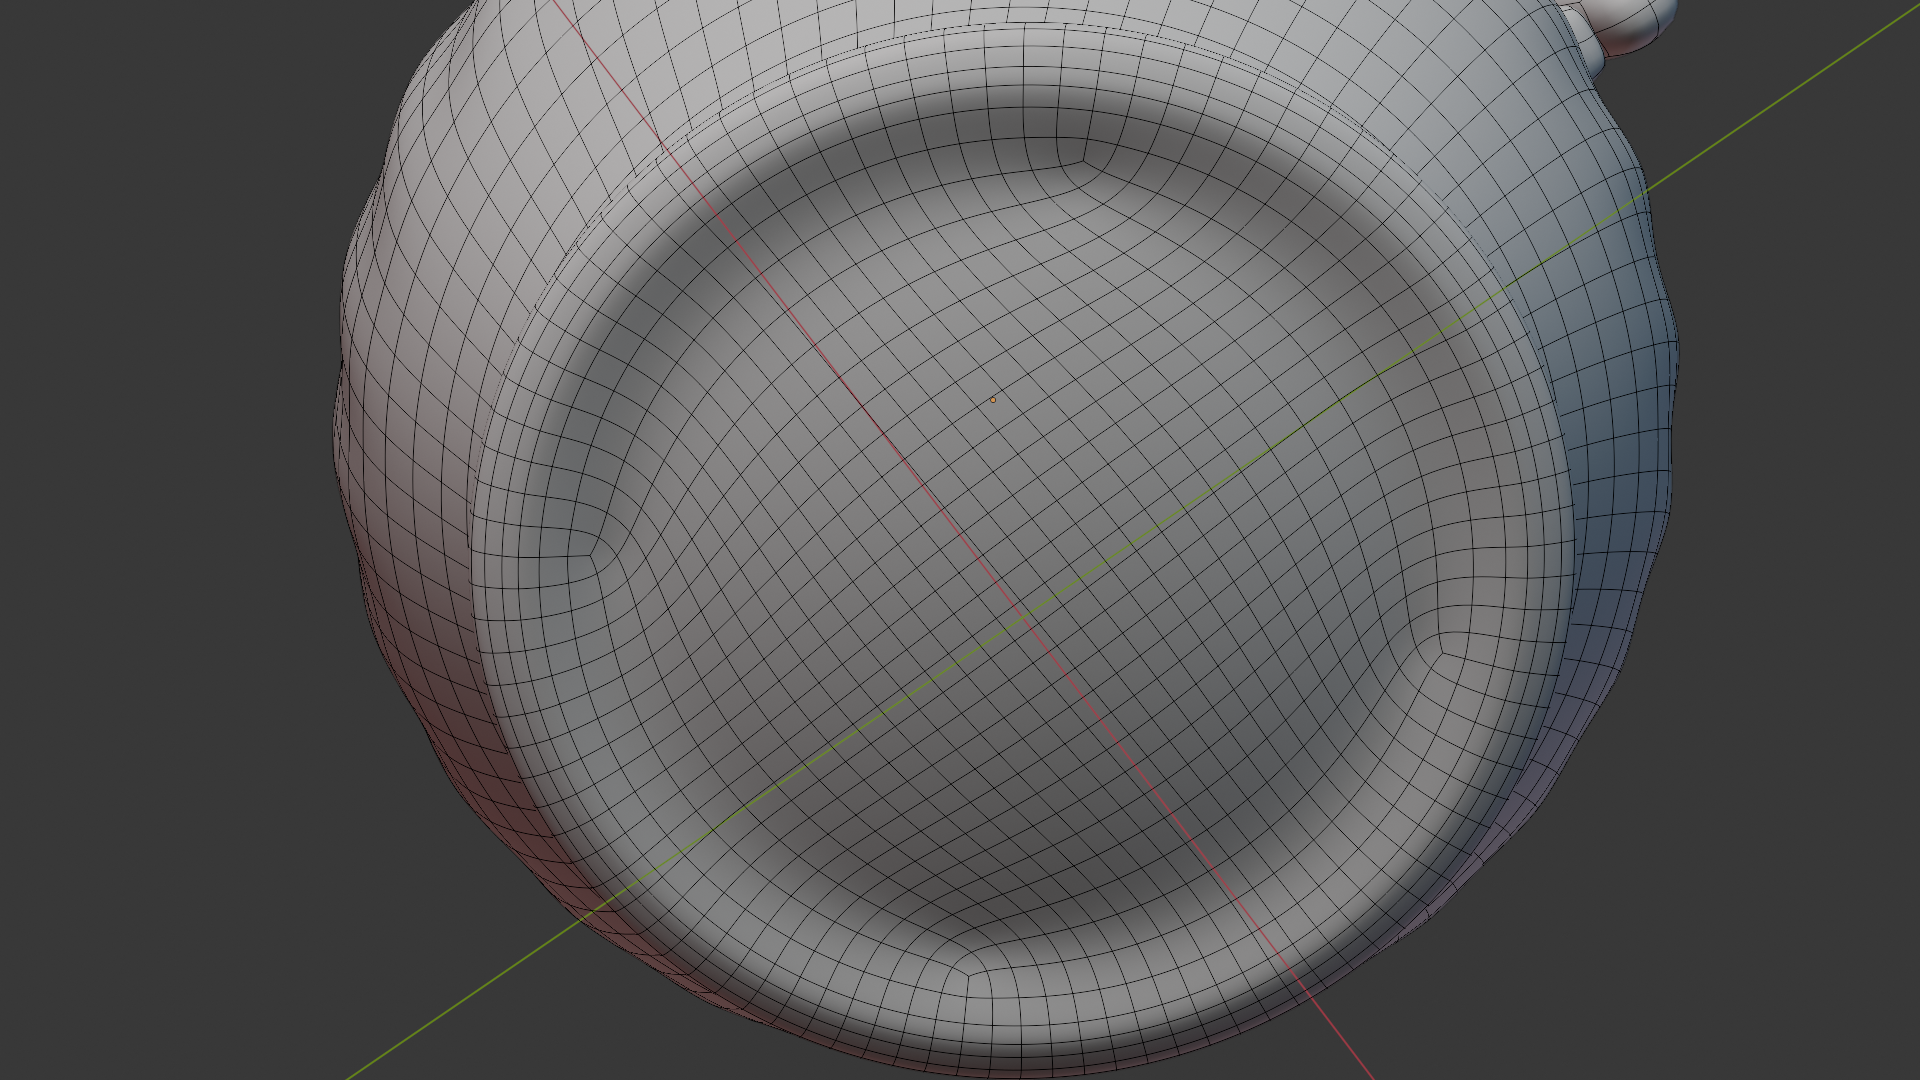
Which I’m not sure how to fix.

So how would you model this shape non-destructively?

cup.blend (497.2 KB)

1 Like

Move from the round part where the deformation occurs to the flat part inside.

3 Likes

Thank you. Did you use a relax brush?

Also, I’d like to know how you would personally model this cup. Would you also apply SubD modifiers a few times in the process?

How did you split the view between matcap and that wireframe studio? Looks cool.

You might just resize the inner part to 0.5, add some addition loop like so… and scale along Z to 0 so that the inner part is planar:


2 Likes

Stop being so fixated on a non destructive workflow.
Its a cup. Not a highly complex character that may need adjustments later in the design or animation workflow.
I see so many people online getting stuck because they think they must use a non destructive workflow all the time. That is just silly. Make a cup, then use a nondestructive workflow to make it into a set of cups.

It is perfectly OK to apply a subdivision rather than take the time to manually create what the subdivison makes automagically. Is he telling you why he is applying it? He is usually rather good at explaining that kind of thing.

If you make the handle with a curve, before converting it to a mesh try adjusting the Resolution value in the Curve settings. You may need to try several different values in the Resolution until you get the one that makes the vertex density closest to the rest of the cup when you convert the handle to mesh.

4 Likes
  1. Detach edges → Scale down → Connect to Bridge Edge Loops

https://docs.blender.org/manual/en/latest/modeling/meshes/editing/edge/bridge_edge_loops.html

The Subdivision modifier will be appropriate 3 times if it is in the current state and 2 times if it is organized by adding an edge to the handle.
(If the edge ratio of the handle is equal to the cup, the number 1 is also a smooth modeling representation.)

  1. The attached image is the image edited by the 2D editing program.
1 Like

I can’t get to that perfect shape. Proportional editing is off but the loops keep pulling each other and affecting each other. Did you detach the edge by pressing ‘v’ first?

How would you get rid of the excess geometry in that center part?

I know it’s just a cup and I’m not going to use this model. I may appear to be fixated or obsessive because I’m a beginner and I want to learn the fundamentals as much and as best as possible.

My obsession with non-destructive workflow is influenced by Ian McGlasham’s videos and his emphasis on it even for creating small chess pieces.

Do you think it’s possible to create this cup with less verts and no applied SubD’s?

I can’t flatten the bottom part… Could anyone please give a hint.

cup2.blend (518.9 KB)

After selecting some areas, flatten the scale to zero with the Z axis and modify the outside arch naturally.

1 Like

The key to solving this was the X-ray view from the side.

This looks like what I wanted.

Now the question is, how can I decrease the geometry as much as possible?

Now, I’m trying to do the same with the inner part of the cup. Is there any way to automatically reposition the loops so that they would curve naturally until they get to that flat part?

Essential: https://github.com/BenjaminSauder/EdgeFlow

3 Likes

Try Relax in Loop Tools addon (default addon)

https://docs.blender.org/manual/en/latest/addons/mesh/looptools.html

1 Like

Sure - use proportional editing. It is the right hand one of the small group of icons at the top center of the 3D window. Proportional editing can also be used to smooth out the areas of the base you want smoothed. It is a vital tool to learn.

You can also make the wavy profile with a curve, then convert that to a mesh.
Add >Bezier Circle. Edit Mode. Subdivide twice.
Shift-Click twice on one of the points (this makes it active, an active point is needed for the next step). Select Menu >> Checker Deselect. Now only each 2nd point is selected. Scale those points in or out to give the wavy pattern.
Object Menu >> Convert >> Mesh. Before converting to a mesh it is wise to go into the curves settings and change the Resolution from 12 down to 6 or possibly 4 - to lower the amount of resulting vertices when converted.
This is how you can make basic flowers, corrugated iron, thread on bottles & a bunch of other things.

Do keep and use the model. Bone china is good for practicing the translucency needed in shaders. And being able to wrap a pattern seamlessly around it will be a fun challenge.

1 Like

I try to do a cup with same design with no modifier appied and not to much vertices.
Without modifiers :


With modifiers :

Modifiers :

Object was done very fast, so it could be really better.
I like to work without applying modifiers but that is not always the best solution, sometime apply some modifiers help a lot.

To grab the base and move up/down and affect the outer parts?

Tried this out and it’s so fun and easy! Thanks!
I then used an array modifier, bridged edge loops and then added a simple deform. Is this what you’d also do to create such shapes?
How would you then attach a handle to it so that it looks natural?

Nice, but could you please explain or outline the steps how you did it?

Yes. Although for the cup I would extrude then add extra loops to adjust and make the profile.
BTW, you could remove 1/2 of the horizontal loops to lower the vertex count.

Proportional editing - and after you move you scroll the mouse wheel to change the strength of the change.

Attaching the handle - on the body inset 4 faces (in a square / rectangle) then extrude them. Do you have the Loop Tools Add-on activated? Use Loop Tools > Circle to make the 9 vertices into a circle. Delete the middle one and adjust the circle to size and extrude out to the handle shape. Adjust the inset vertices to a rounder shape as well.
Again - You could use a curve to make the fancy profile some handles have, then use that as the profile shape of another curve that makes the shape the handle has.
Adjust the profile curves Resolution in its setting down to 2 (from the default 12) so when it gets converted to a mesh it has 8 vertices to match the inset and extrude I mentioned above.

1 Like

Ok, I will try to explain :
I : create cylinder with lot of Vertices (64 in my test)


II : Extrude/scale two or three time to have the global shape of the cup :

III : Do somme extrusion/scales or insertion to have a basic shape of the bottom of the cup :

(Do really fast, you can do better.)
IV : remove the top face and rotate the edge on the Z axis :

V : Use select/checker deselect :

then scale :

Add two edge loop, first on center of the object then scale it to match shape of the cup. Second on top (it’s a support edge loop, to have better result with subdivision).
VI : extrude the top loop, right-clic, loop-tool, circle, then extrude the new loop again (if you don’t have loop-tool activated, activate it in edit/preference/add-on)

VI : Add modifiers :

Except for the handle, global shape should be good. If something is wrong, you can easily adjust the shape.
VII : For the handle, add edge loop, select four face, then extrude.

Extrude rotate move to have a correct shape of handle (you can use a reference with add/image/reference to fir a real correct shape)

For each loop use loop-tool/circle to have a circular handle, and correct angle with rotate and size with scale

Remove faces at the end of the handle, and apply loop-tool/circle.
image
Add two edgle loop at the bottom of the cup, and correct the shape :

Remove four face, select edge of the hole, select edge of the hole on the handle, and right-click/bridge edge loop.

Adjust things that need to be adjusted, and you have a basic cup :

With more work on each step you can have far better result.

4 Likes